Project 3
©Jorg Peters
Subdivision + Texture
Points: 30 (+ 40 BONUS)
Resources
Set up
Points: 0
-
Use Perspective projection, set the
field of view angle to be 45 degree, near plane to be
0.1 and far plane to be 100.
-
Camera movements from Project 2:
Use
← and
→ keys move the camera along the
blue circle parallel to the equator.
↑ and
↓ keys
rotate the camera along the red circle orthogonal
to the equator.
Point the camera always to the origin.
Choose a good "up" direction.
-
The r key resets the program
to its startup state
(displays x-y plane, clear rotations, etc.).
Task 1: Display face net


Points: 12+3
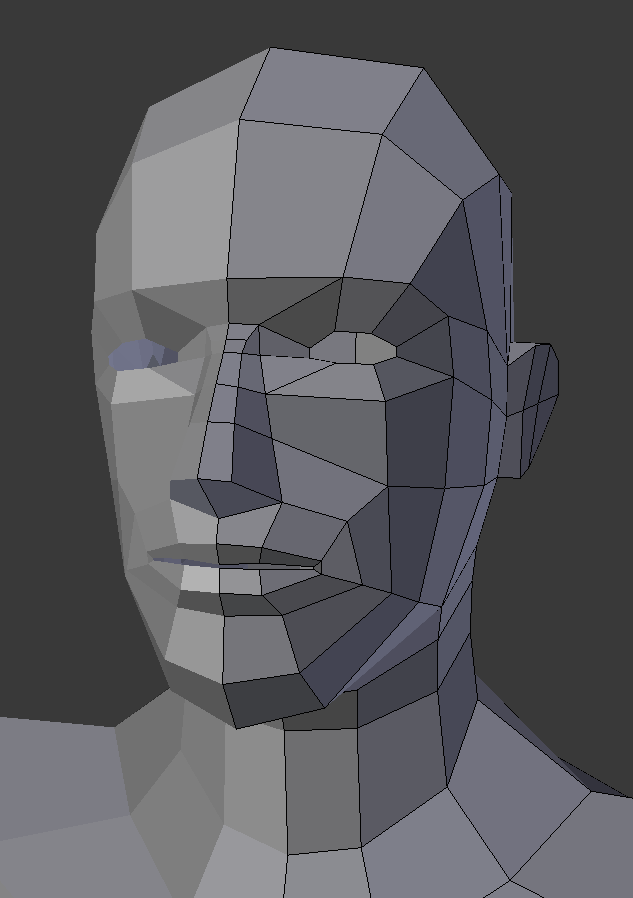
Choose a face geometry mesh, not too fine,
and place into the scene
If the mesh has quads, show them (not triangles)
for full points.
Note that your choice here will influence your choice of
subdivision algorithm in Task 3.
The f key toggles
show/hide of the wireframe of the
model
Task 2: Add a texture
Points: 0+12+3
-
Take a photo of your face
-
Map the photo onto the mesh facets.
Flattening
may be useful.
-
The F key toggles
show/hide of the facetted (Frankenstein) head with texture
BONUS:
Points: 40
(Points: 20)
Render a smooth surface with
the wireframe as a subdivision surface control net.
 Choose one of: Catmull-Clark subdivision, Doo-Sabin subdivision,
Loop subdivision,
quadratic-attraction subdivision
,
4-3 subdivision
,
polyhedral net splines
,
(Points: 15)
uv-map your face texture onto the curved surface.
The P key toggles
show/hide of the smoothly rendered head
( = with subdivision level at least 2)
The u key toggles
show/hide of the texture.
(Points: 5)
Animate the front your face to show a smile.
WHAT TO SUBMIT
as for previous projects: explain per Task in the video and Readme.txt.
Filepaths to load models must be relative to the source directory
(no absolute paths specific to your computer).
Use a "models" folder within the top-most level of the source repo ("ogl-master").
If you need to deviate specify the location in the readme file.
 Choose one of: Catmull-Clark subdivision, Doo-Sabin subdivision,
Loop subdivision,
quadratic-attraction subdivision
,
4-3 subdivision
,
polyhedral net splines
,


 Choose one of: Catmull-Clark subdivision, Doo-Sabin subdivision,
Loop subdivision,
quadratic-attraction subdivision
,
4-3 subdivision
,
polyhedral net splines
,